
初代ゲームボーイ分解・修理ガイド
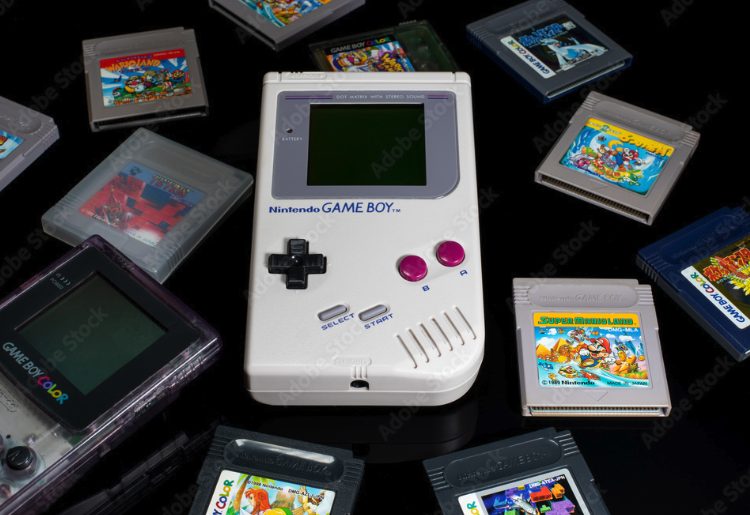
1989年に発売された初代ゲームボーイ(型番 DMG-01)は、いまや30年以上前のレトロハードです。最新の携帯ゲーム機と比べれば構造は非常にシンプルですが、そのぶん修理や改造のしやすさが魅力でもあります。
The original Game Boy (model DMG-01), released in 1989, is now over 30 years old. Compared to modern handheld consoles, its design is very simple, but that simplicity makes it much easier to repair or even modify.
ドライバーと少しの工具があれば誰でも分解でき、劣化したパーツの清掃や交換、さらにはバックライトの取り付けなども可能です。
With just a screwdriver and a few basic tools, anyone can take it apart, clean or replace aging parts, and even add modifications like a backlight.

外装を開ける
Opening the Case
外装は特殊なY字ネジで固定されています。市販のY字ドライバーを使えば簡単に外すことができ、ネジ穴を潰す心配もほとんどありません。
The case is held together with Y-shaped screws. Using a proper Y-screwdriver makes removal easy and prevents damage to the screw heads.
外装を開くと、液晶側と電源側の基板がケーブルでつながっています。無理に引っ張ると断線の原因になるので、ゆっくり慎重に作業することが大切です。
Once opened, you’ll see the display board and the power board connected by a ribbon cable. Pulling too hard can cause damage, so be patient and careful.
基板を分割する
Separating the Boards
外装を外すと、ゲームボーイは液晶側基板と電源側基板の2枚に分かれます。初代モデルは非常に頑丈で、多少強めに扱っても壊れにくい構造です。
After removing the case, the Game Boy splits into two boards: the display side and the power side. The original model is surprisingly durable and can withstand a bit of rough handling.
分解を繰り返すうちに、ケーブルの抜き差しにもすぐ慣れていくでしょう。
The more you disassemble and reassemble it, the more comfortable you’ll become with handling its cables and connectors.
電源基板の取り外し
Removing the Power Board
電源基板はプラスドライバーだけで取り外すことができます。
The power board can be removed with just a standard Phillips screwdriver.
注意すべきは電池ボックスの金属部分で、ここが錆びていると電源が入らない原因になります。
The main trouble spot is the battery contacts—if they’re corroded, the Game Boy may not power on.
中古品の不具合は、この錆が原因になっていることが多いため、ヤスリや錆落としで磨いてやると改善します。
Many secondhand units fail for this exact reason. Cleaning the rust with sandpaper or a rust remover usually restores functionality.
液晶基板の取り外し
Removing the Display Board
液晶側の基板も同様にプラスドライバーで外すことが可能です。
The display board is also removable with a Phillips screwdriver.
長年使われてきた個体では、「縦ライン抜け」と呼ばれる液晶不良がよく発生します。これは接触不良によって縦方向の線が消えてしまう症状です。
On older units, a common issue is “vertical line dropout,” where vertical stripes disappear due to poor connections in the LCD.
修理には少しテクニックが必要ですが、コツを掴めば改善可能です。
Fixing this requires some technique, but with patience it can often be repaired.
外装のクリーニングと交換
Cleaning and Replacing the Shell
分解が終わったら、外装を丸ごと洗浄できます。黄ばんだプラスチックは漂白剤に浸して紫外線を当てることで色を取り戻すことが可能です。
After disassembly, you can thoroughly clean the shell. Yellowed plastic can be restored by soaking it in peroxide-based bleach and exposing it to UV light.
もっと手軽に新品同様にしたいなら、海外ショップから交換用外装を購入するのもおすすめです。価格は500円から2,000円ほどです。
For an easier solution, replacement shells are available from overseas shops, typically costing between ¥500 and ¥2,000, instantly giving your Game Boy a “like new” look.
まとめ
Conclusion
初代ゲームボーイは、構造が単純で修理しやすく、今でも十分に遊べる魅力を持っています。
The original Game Boy’s simple design makes it easy to repair and still enjoyable to play even today.
電源不良や液晶の縦ライン抜けといった典型的なトラブルも、清掃や部品交換で改善できます。
Common issues like power failure or LCD line dropout can be solved with cleaning and part replacement.
外装をリフレッシュすれば、30年以上前のハードが新品同様に蘇ります。
And with a refreshed shell, a console from the late ’80s can look and feel brand new.
修理や改造の入門機として、初代ゲームボーイは今なお最適な存在です。
As a beginner’s project for repair or modification, the original Game Boy remains an excellent choice even today.