Have you ever pulled out your old Game Boy only to find dark blotches or shadows on the screen?
This common issue is known as “Vinegar Syndrome”, a form of LCD deterioration. If left untreated, the screen may eventually turn completely black, making the system unplayable.
In this article, we’ll cover:
-
What Vinegar Syndrome is and what causes it
-
How to prevent it
-
Tools you need for repair
-
Step-by-step instructions to restore your screen
What is Vinegar Syndrome?
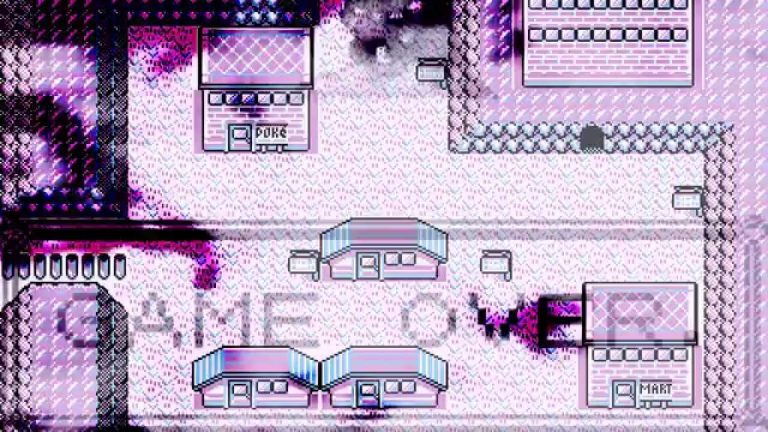
Vinegar Syndrome refers to the black stains or melted-looking shadows that appear on LCD screens.
The main cause is the degradation of the polarizing film attached to the display. Over time, especially under poor storage conditions, this film undergoes hydrolysis and warps.
When the deteriorated film is removed, it often gives off a strong vinegar-like smell — hence the name.
Main Causes
-
Long-term storage in hot and humid environments
-
Poor ventilation (closets, drawers, etc.)
-
Natural aging of the polarizing film
Prevention Tips
-
Store with silica gel or other dehumidifiers
-
Keep in a dry, well-ventilated place
-
Power on the device occasionally to avoid long idle periods
Tools You’ll Need
Here’s what you’ll need to attempt the repair (example: Game Boy Pocket, but applies to other GB models as well):
-
Game Boy console (e.g., Pocket, Color, Advance)
-
Game Boy cartridge (for testing)
-
2 × AAA batteries
-
Y-shaped screwdriver
-
Phillips screwdriver
-
Scissors or utility knife
-
Tissue or lint-free cloth
-
Anhydrous (99%) ethanol – required
-
Polarizing film (replacement sheet) – required
-
Plastic spudger or flat tool (optional)
👉 Ethanol: Helps dissolve and remove the hardened residue from the old film. Unlike water, it evaporates quickly and is safe for electronics.
👉 Polarizing film: Essential for making the LCD image visible again.
Step-by-Step Repair
1. Disassemble the Game Boy
-
Remove the six back screws using a Y-shaped screwdriver.
-
Disconnect the LCD ribbon cable (slide the white locks on each side).
-
Remove the three Phillips screws holding the main board.
-
Carefully lift out the LCD screen using a spudger.
2. Remove the Old Polarizer
-
Use a knife or scissors to lift one edge of the polarizing film.
-
Slowly peel it off by hand.
-
You’ll notice hardened residue stuck on the glass surface.
3. Clean the Screen
-
Soak a tissue with anhydrous ethanol.
-
Rub the LCD surface to dissolve and remove the residue.
-
Depending on severity, this may take 30 minutes or more.
-
-
Once clean, remove any sticky layer left behind.
4. Install the New Polarizer
-
Reconnect the LCD to the board temporarily and turn on the system.
-
Place the new polarizing film on top and rotate it to find the correct angle where the image appears.
-
Mark the size using the shell as a guide, then cut the film to fit.
-
Peel off the protective sheet and apply the film in the correct orientation.
5. Reassemble
Rebuild the console in reverse order, insert batteries and a cartridge, and power on to confirm the display works.
Results & Considerations
In some cases, the new polarizer restores the screen almost perfectly.
However, if the degradation has already spread into the LCD itself, some dark patches may remain.
👉 If the screen damage is severe, a full LCD replacement or even purchasing another console may be the faster option.
Conclusion
-
Vinegar Syndrome is caused by the breakdown of the LCD polarizing film.
-
Prevention: avoid humid storage and keep your console ventilated.
-
Repair involves removing the old film, cleaning with ethanol, and applying a new polarizer.
-
Light cases can be restored, but severe cases may require replacement.
Bring your childhood handheld back to life — restoring a Game Boy screen is challenging but rewarding for retro gaming fans!
Related Guides
-
[How to Add a Backlight to a Classic Game Boy]
-
[Installing IPS LCD Mods for GBA Consoles]